


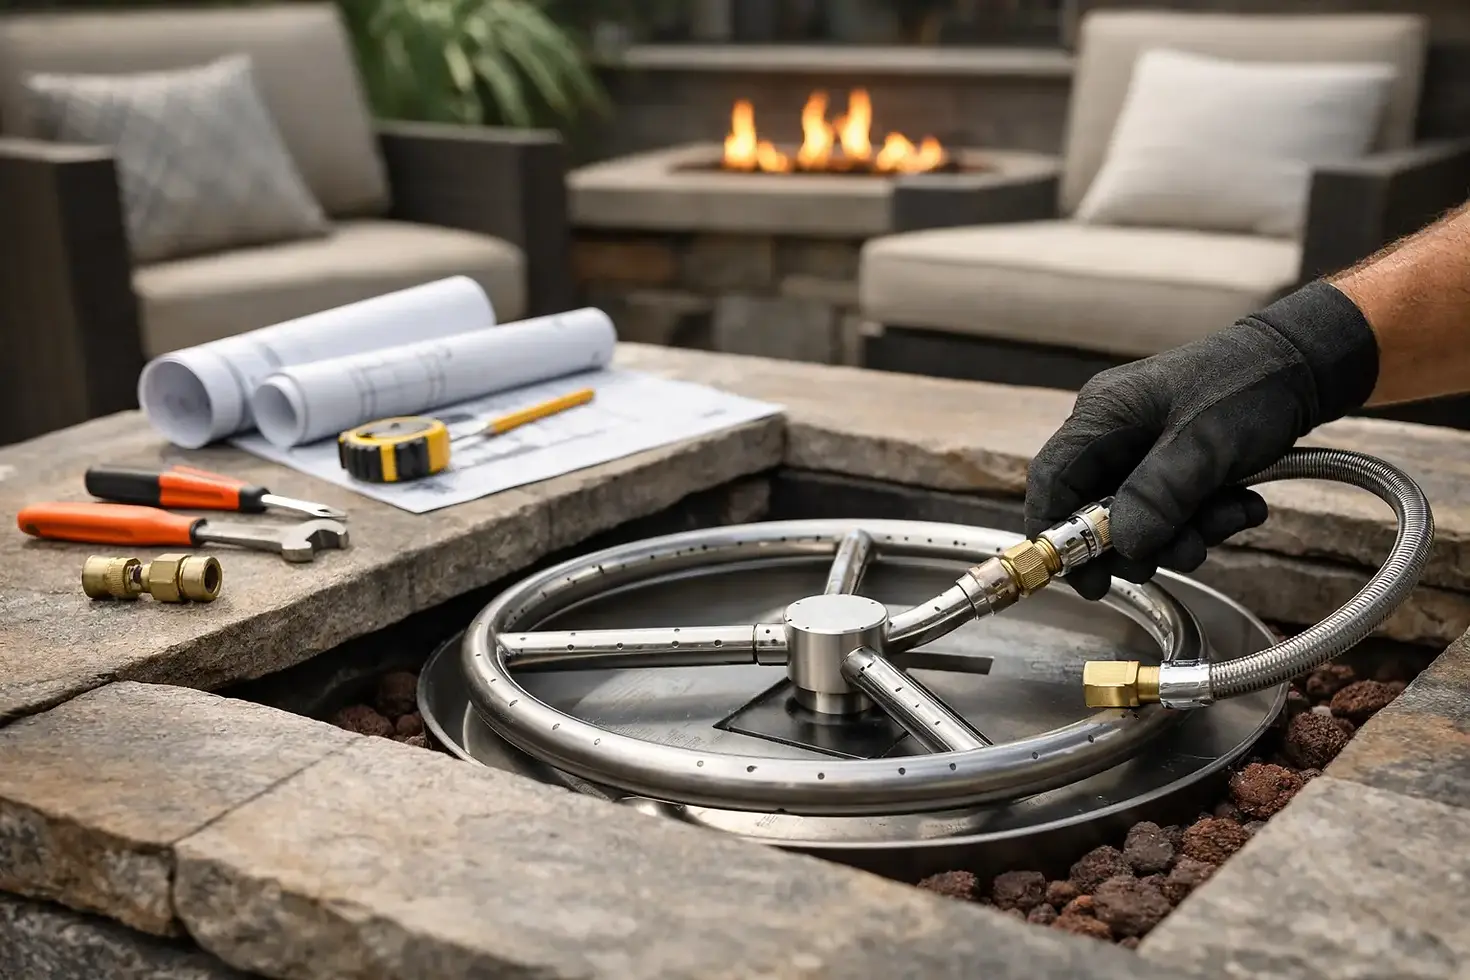
Installing a Fire Pit Burner: A Design-First Guide

A fire feature can look beautifully composed from across the patio, then feel disappointingly improvised up close if the flame, media, and enclosure were not planned as one system. Installing a fire pit burner is the moment where a sculptural bowl, concrete table, or custom masonry surround becomes a working gathering place. Get the foundation right and the result feels permanent, polished, and easy to enjoy after sunset.
For most premium outdoor projects, the burner should never be treated as an accessory added at the end. Its size, fuel source, controls, ventilation, and fire media all shape the scale of the finished feature. A long linear burner creates a different visual rhythm than a round burner in a concrete fire bowl, and each makes different demands on the enclosure beneath it.
Start With the Fire Feature, Not the Burner Alone
The first decision is the role the fire pit will play in the landscape. Is it a low, intimate focal point between lounge chairs? A substantial fire table that anchors a dining terrace? Or a dramatic bowl positioned at the edge of a pool or garden axis? The answer informs the burner shape, flame height, and overall heat output.
A burner should feel proportional to the vessel or tabletop rather than filling every available inch. In a round fire bowl, a centered round burner generally preserves a clean border of fire media and keeps the flame visually grounded. In a rectangular fire table, a linear burner can emphasize the length of the piece and leave usable surface area around the fire opening. The visible opening, not just the burner itself, needs to look intentional.
This is also the right time to confirm seating clearances. A larger flame can create a memorable focal point, but it needs room for circulation and comfortable furniture placement. Consider wind direction, overhead structures, low branches, and nearby glazed doors or windows before finalizing the location. A fire feature should invite people closer without forcing them to navigate around heat, smoke, or a gas connection.
Installing a Fire Pit Burner Begins With Fuel Planning
Gas burners are typically designed for either natural gas or liquid propane. These fuels are not interchangeable without the correct manufacturer-approved components and configuration. Natural gas is a strong choice for a permanent installation with an available gas line, while propane can suit locations where running a new line is impractical.
Natural gas offers the convenience of a continuous supply and is often ideal for built-in outdoor living spaces. It does, however, require adequate gas-line sizing from the source to the burner. A line that is too small or too long for the required BTU rating can result in a weak or uneven flame. This is why a licensed gas professional should determine pipe sizing, pressure, shutoff placement, and final connection requirements.
Propane offers greater placement flexibility, but the tank needs a properly designed, accessible storage area. It cannot simply be sealed inside a decorative base. Propane is heavier than air, so a leak can settle at the bottom of an enclosure. Approved low-level ventilation is essential, along with a tank compartment that keeps the cylinder upright, protected, and straightforward to change.
Before ordering components, compare the burner's stated BTU rating with the fuel supply, the size of the fire opening, and the amount of media planned. More BTUs do not automatically mean a better feature. On an exposed, windy terrace, a burner with thoughtful flame protection may perform better than a larger burner installed in an open, unshielded cavity.
Build a Ventilated, Serviceable Enclosure
The enclosure beneath a burner does more than hold the fire pit together. It must safely house gas components, allow heat to dissipate, and provide access for future inspection or service. Whether the outer finish is cast concrete, steel, stone, or masonry, the interior construction needs to follow the burner manufacturer's requirements precisely.
A non-combustible burner pan or support structure is commonly used to bridge the fire opening and carry the burner and media. The pan should fit securely, remain level, and allow the surrounding finish to read as a clean architectural detail rather than a rough cutout. Never rely on loose filler material, wood framing, or an improvised shelf to support a burner assembly.
Ventilation requirements depend on the fuel type and construction of the unit. Natural gas enclosures typically need opposing vents to promote airflow. Propane installations require low vents because propane can collect below the burner level. The specific number, size, and placement of vents should come from the burner and enclosure instructions, as well as applicable local code.
Service access deserves equal attention. Ignition systems, gas valves, regulators, and connections should be reachable without dismantling the entire fire feature. A discreet access panel can protect the clean lines of a fire table while preventing a minor repair from becoming a masonry project. For a permanent outdoor installation, that practical detail is part of good design.
Choose an Ignition System That Fits How You Entertain
A match-lit burner is simple and can be appropriate for a straightforward, manually operated fire feature. It generally uses a key valve located outside the fire pit enclosure, allowing the gas to be turned on before the flame is lit with an approved long lighter. Its appeal is mechanical simplicity, but it does require hands-on operation every time.
Electronic ignition adds convenience and can support a wall switch, remote, timer, or smart-home control, depending on the system. Many premium installations use electronic ignition for a more refined guest experience: press a control, confirm ignition, and let the evening begin. These systems need correctly planned electrical power and weather-conscious placement for their control components.
The trade-off is complexity. Electronic systems introduce wiring, ignition modules, and sensors that should be installed and tested by qualified professionals. In regions with frequent power interruptions or harsh winter conditions, ask how the system handles loss of power, seasonal shutdown, and service access. The right choice is the one that matches the way the space will actually be used.
Set the Burner and Fire Media for an Even Flame
Once the enclosure, fuel connection, and ignition components are ready, the burner should be placed level on its approved pan or support. A level burner helps distribute gas consistently, creating a more even flame pattern. The burner ports must remain clear. They should never be buried under media, adhesive, debris, or construction dust.
Fire media changes the character of the flame as much as the vessel itself. Lava rock is often used as a base layer because it helps fill depth without placing expensive decorative media directly around every component. Fire glass offers a crisp, contemporary finish and can reflect flame beautifully in a steel or concrete fire table. Ceramic logs create a more traditional hearth-like effect, while ceramic fire stones can complement a quieter, more sculptural setting.
Use only media rated for gas fire features. Decorative landscape stone, beach pebbles, and ordinary glass are not suitable substitutes. Materials that hold moisture or are not designed for high heat can crack, pop, or create unsafe conditions.
The media should conceal the burner without obstructing its ports. Too much material can suppress flame and affect ignition. Too little can leave the burner hardware exposed and make the feature feel unfinished. Follow the media depth guidance provided for the burner, then assess the visual balance from seated eye level as well as from the approach to the patio.
Complete the Installation With a Professional Test
The final connection, leak test, ignition test, and flame adjustment are not cosmetic finishing steps. They are essential safety checks and should be handled by a licensed gas professional in accordance with local requirements. The installer should verify that the gas pressure is correct, all connections are secure, the burner ignites reliably, and the flame pattern is stable at low and high settings.
Before the first gathering, allow the fire feature to run long enough to observe how it behaves in real conditions. Watch for uneven flame, delayed ignition, unusual odor, excessive heat at the enclosure, or a flame that is easily disrupted by typical breezes. If anything seems off, turn the system off and have it evaluated rather than trying to compensate with extra media or a larger flame setting.
A cover is a worthwhile finishing piece for any outdoor burner. It keeps leaves, water, and debris out of the fire opening when the feature is not in use, preserving the clean material presence that made the fire pit appealing in the first place. For homeowners building a lasting outdoor focal point, Pottery Works views these details as part of the larger composition: a warm flame, enduring materials, and a space people naturally want to gather around.
The best fire features do not announce the complexity behind them. They simply light when the evening cools, hold a steady flame, and make the patio feel like the place everyone intends to stay a little longer.


Comments